The 7-Minute Rule for Highland Manor Wood Products, Llc
The 7-Minute Rule for Highland Manor Wood Products, Llc
Blog Article
The Only Guide to Highland Manor Wood Products, Llc
Table of ContentsHighland Manor Wood Products, Llc - The Facts4 Easy Facts About Highland Manor Wood Products, Llc DescribedWhat Does Highland Manor Wood Products, Llc Do?Little Known Facts About Highland Manor Wood Products, Llc.The smart Trick of Highland Manor Wood Products, Llc That Nobody is Talking About
Tidy the busted sides of the table leg to ensure a smooth, solid bond. Establish up your work space in a well-lit, tidy area to prevent any more damages. Thoroughly line up the broken pieces. Precision is your close friend here. Usage secures to hold the assemble temporarily. As soon as the glue is dry, sand the location for a smooth coating.Removing the legs alleviates the stress they could withstand if the table is lugged or loaded incorrectly, avoiding them from bearing too much weight or experiencing undue stress. Guarantee that the table, particularly its legs, is firmly placed in the moving vehicle. The table shouldn't wobble or have the prospective to tip over.
Highland Manor Wood Products, Llc for Beginners
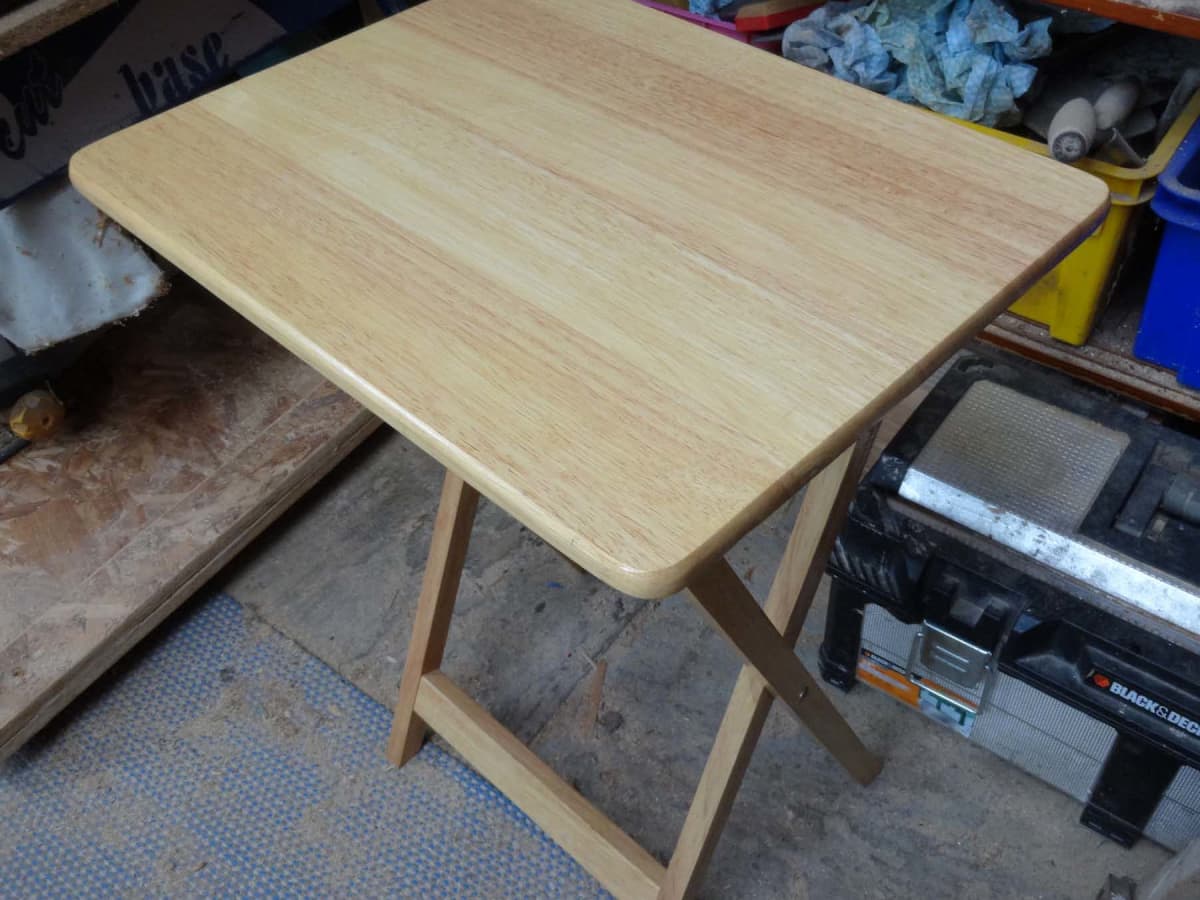
Take the concealing tape and wrap your drill little bit about inches of the way down the bit. This is to help ensure you don't pierce with the tabletop while ensuring the deepness you need for the screws. Thoroughly drill each of the screw holes to the proper depth, making use of the marks you made.
Make use of the effect chauffeur to screw each leg securely into area. It's finest to go one leg each time to guarantee the placement is right and each leg is safe and secure prior to going on to the next. Flip your brand-new table back over and enjoy it in your house! We recognize you'll like your new hairpin table in your home.
(https://share.evernote.com/note/45a68779-156d-e194-dd1c-48bd10c12ece)
Repeat these steps to take care of any type of other damaged legs on the table.
Use a jig saw to reduce them diagonally from edge to catch to generate four corner blocks. Cut a notch out of the rear of the edge block opposite from the angled cut to ensure that the notch fits over the top visit this web-site of the leg and gives extra strength in the edge.
Highland Manor Wood Products, Llc Things To Know Before You Get This
Drive one even more screw, focused through the block, into the edge of the table leg. Beef up your light-weight table by adding some ballast. This offers to flatten wayward, slim tabletops, along with add some weight to maintain them where they belong. Measure the length and size under the table between the legs.

Whole lots of tables have built-in cots to add stability. 2 cots run in between the sides of the legs on the table's brief ends, with one long cot linking the 2 brief cots in the.

The 20-Second Trick For Highland Manor Wood Products, Llc
Each piece has its own story to inform, and antique table legs play an important function in the overall looks and stability of these prizes. Restoring them not only revives their beauty but also helps preserve their historical importance. Comprehending antique table legs begins with acknowledging the different types of antique tables and their historic contexts.
Allow's explore these actions in information. Antique tables are available in numerous designs, such as Queen Anne, Chippendale, or Victorian, each with its special layout and functions. Comprehending the kind of table you have will guide your restoration efforts. Researching the historical background of your table can provide valuable understandings right into its age, origin, and possible worth.
For instance, French bnisterie furnishings, with its intricate workmanship, would likely be most worth bring back and might demand specialist solutions, whereas a table discovered at a garage sale may not warrant the remediation price. As you start the trip of recovering antique table legs, one of the preliminary and critical actions is to closely take a look at these integral parts of your treasured item.
An Unbiased View of Highland Manor Wood Products, Llc
Begin by inspecting the surface area of the table legs carefully. Search for any visible cracks that might have created with time. Splits can vary in dimension and intensity, from small surface area blemishes to deep architectural fractures. Each crack narrates of the table's history, and addressing them is necessary for both aesthetics and architectural security (wood Corner Guards).
These divides can jeopardize the total toughness and look of the legs. Recognizing their presence and level is vital prior to waging restoration. Butt joints are more at risk to splitting since they supply a restricted area for glue bonding, making them prone to splitting up under anxiety or stress. Pay very close attention to the joints where the table legs meet the table's frame or apron.
Evaluate the general structural integrity of the legs. By thoroughly evaluating the wear and damages, you can create a detailed remediation plan tailored to the specific requirements of your antique table legs.
Report this page